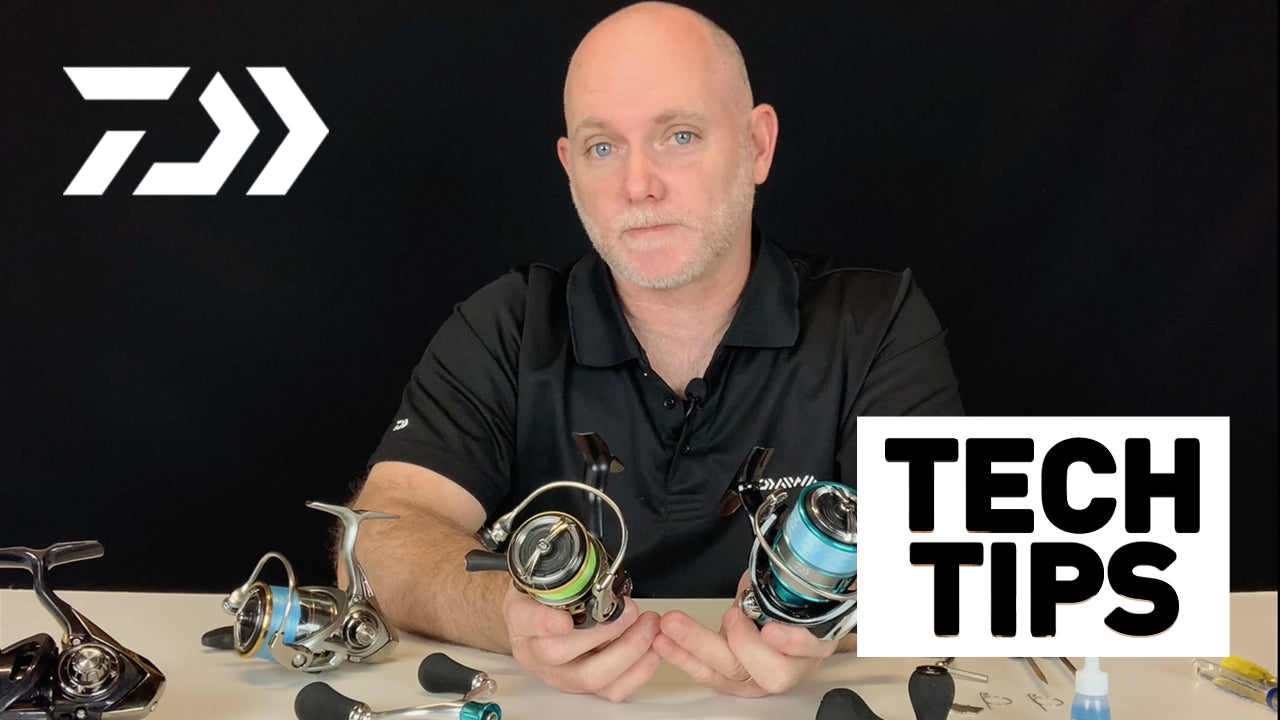
HOW TO REMOVE AND SWAP THE HANDLE ON A SPIN REEL- DAIWA TECH TIPS
Welcome to another Daiwa Tech Tip. Today, we are talking spin reels and in particular, the handles. The different types, how you remove them and of course, how you swap them over. When it comes to handles, there's two main types, the pin-through which you generally find in our mid to low-end reels and the screw in option, which you find in our mid to high-end models.
Now, the pin-through handle is exactly as the name implies, with a pin or shaft that slides through the body of the reel. Now, of course you can attach it on the right or the left-hand side, the choice is up to you. You slide the handle through the reel and on the other end, you attach the nut. Screw it down, keep going, do it nice and tight, but not too tight.
Now a screw-in handle functions in a similar way, and once again, the name tells you how it works. It screws into the body of the reel. When attaching the handle always remember to crank the handle forward, and to undo you back wind the handle.
Once you’ve attached the screw-in handle you then need to attached the cap on the other side of the reel, screwing it in until it’s tight, but not too tight. If you want to swap the handle to the other side of the reel simply unscrew the handle and cap and swap onto the other side of the reel.
So there we are, a quick rundown on the two different handle types, pin-through and screw-in, and just how simple and easy it is to swap. Good luck with your modifications and happy fishing.

Meet Simon Goldsmith
Daiwa Marketing
A Daiwa Fan Boy at heart Simon loves nothing more than loading up his bass boat with Daiwa gear and JDM tackle and hitting his local lakes in search of bass or packing the boat and car for a trip to North Queensland chasing sooty grunter and mangrove jack.


